Light is the fundamental element of photography. How it interacts with your subject can make or break an image. By understanding different types of lighting and their effects, you can harness this powerful tool to create compelling photographs. This article will shed light on the intricacies of lighting in photography.
1. Natural Light: Harnessing the Sun
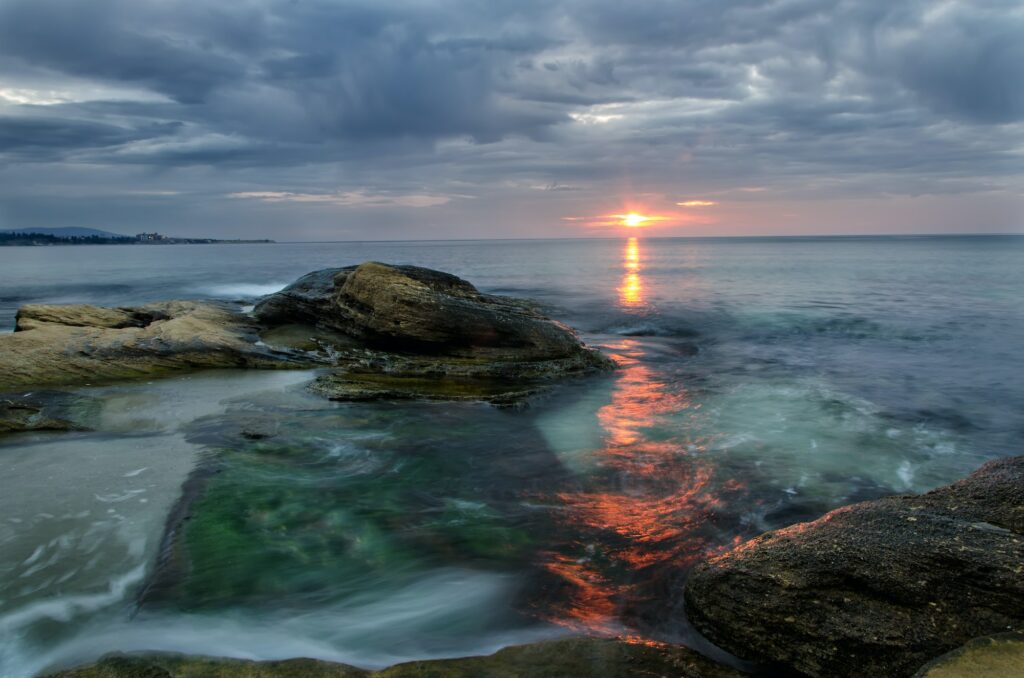
The sun is a versatile light source that offers varying characteristics depending on the time of day and conditions:
- Golden Hour: Occurs shortly after sunrise and just before sunset. It casts a warm, soft, diffused glow that’s flattering for most subjects.
- Blue Hour: This period occurs before sunrise and after sunset. The indirect sunlight creates a blue hue, ideal for cityscapes or landscapes.
- Midday Light: Often harsh with strong shadows. Useful for creating dramatic images but can be challenging for portraits.
2. Ambient Light: Making the Most of Existing Light
Ambient light refers to any available light in a scene, be it from streetlights, neon signs, or candles. Embracing ambient light can add mood and authenticity to shots, especially in low-light conditions or nighttime photography.
3. On-Camera Flash: Immediate Illumination
Direct flash from your camera can illuminate subjects, but it often results in flat lighting with harsh shadows. It’s typically used as a fill light to minimize shadows or provide a catchlight in the eyes.
4. Off-Camera Flash and Strobes: Controlled Brilliance
By moving your flash off-camera, you gain flexibility in directing light. Strobes, or studio lights, provide strong, consistent lighting and are often used in professional setups.
- Softboxes: Diffuse light, resulting in a softer, even glow.
- Umbrellas: Scatter light, decreasing its intensity and softening its impact.
- Snoots and Grids: Direct light to specific areas, creating a spotlight effect.
5. Reflectors: Bouncing Back
Reflectors are invaluable tools for directing and modifying light. They can bounce light back onto your subject to fill in shadows or soften harsh lighting. They come in various surfaces: silver (for cooler reflected light), gold (for a warm glow), and white (for a neutral bounce).
6. Diffusers: Softening the Blow
Diffusers scatter light, reducing its intensity and softening shadows. Whether you’re using a fabric diffuser over a flash or a cloud diffusing sunlight, the principle remains the same: spread the light to make it more flattering.
7. Continuous Lights: What You See is What You Get
Popular in video production, continuous lights (like LED panels) let photographers see how light falls on their subject in real-time. They’re especially useful for those new to lighting, as they offer a straightforward visual guide.
Conclusion: Painting with Light
Lighting is often likened to painting. As photographers, we “paint” our scenes using light, sculpting our subjects and crafting mood and atmosphere. By mastering different light sources and modifiers, you gain a powerful toolset that elevates your work, ensuring your images aren’t just seen, but felt. As you continue your photographic journey, remember: It’s not just about capturing light; it’s about understanding and shaping it.